
I saw this idea for a strip of circles on a card here and was so excited to try it! What a simple, classic and cute idea. So here is how I did it:
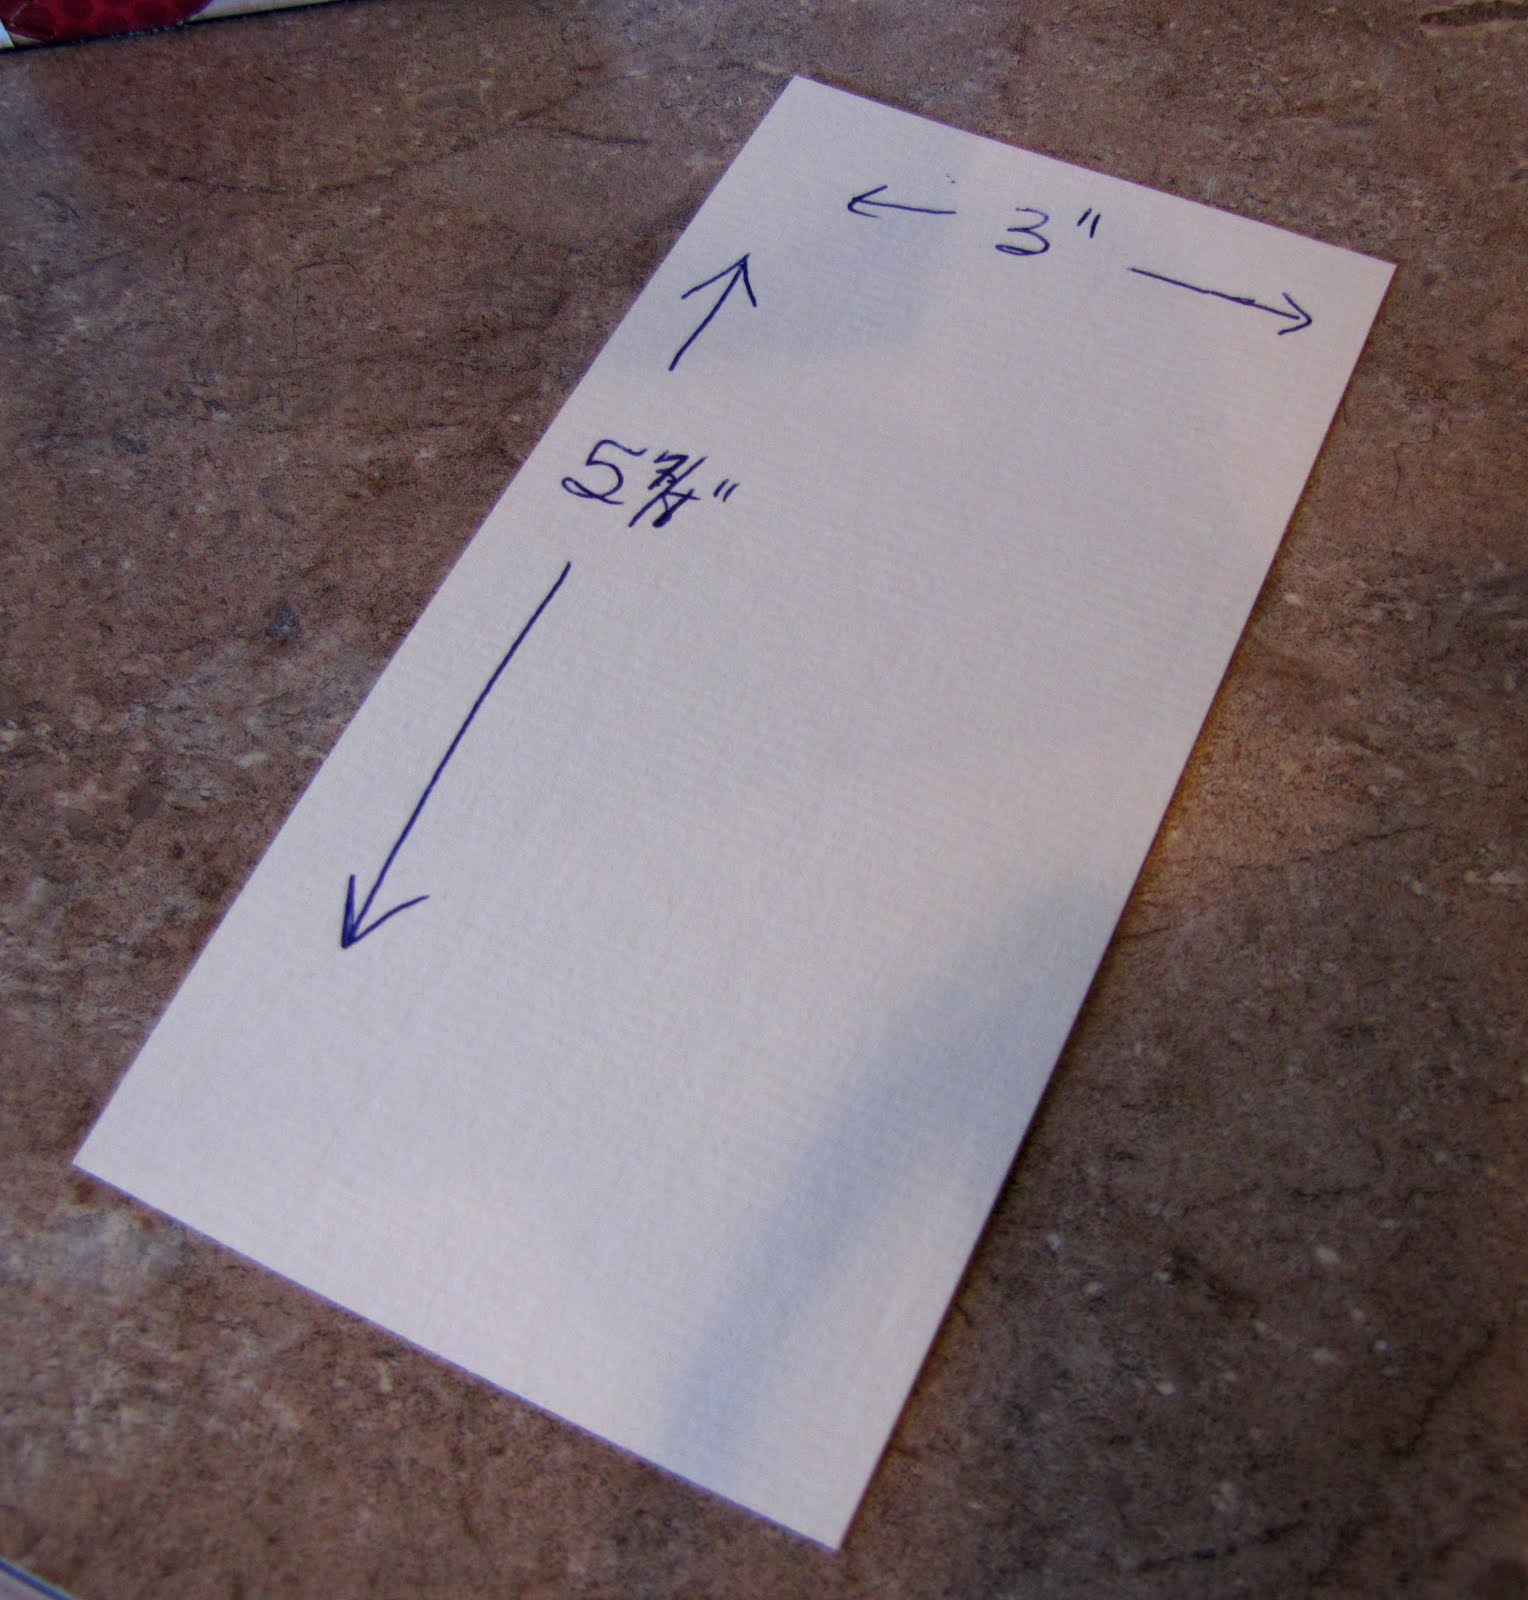
1. Cut a strip of paper 3 inches wide by 5 7/8 inches long (so it will fit on a 6 inch card base).
2. Punch 16 circles from coordinating paper and ink all the edges. I used a 1 1/4 inch circle punch and the beautiful papers from Scenic Route's Sonoma line-- these are so perfect for fall, love them!

3. Begin glueing the circles onto the cardstock strip, starting at the bottom and overhanging the edges and overlapping the circles as you move up. I laid all the circles out on the cardstock without glue first to get the feel of where they should go.

4. Continue until you have used all 16 circles, the top ones will hang over the edge quite a way, that is fine!
 5. Turn the whole thing over and trim the edges of the overhanging circles so they are even with the cardstock strip. Then ink around the edges of the whole piece.
 .
.There you are! The strip of circles is finished and ready to adhere to a card. I zigzagged stitched mine to another piece of cardstock 5 7/8 x 5 7/8 and then attached that to my 6 inch card. My word is a custom made vinyl applique that was actually for another project but has just been sitting around my work table and fit here perfect!
I can't wait to see your Fall creations, make sure to enter them in our new challenge for your chance to win!


No comments:
Post a Comment